Once the Presenter window is loaded with a slideshow and sent to all the participants, each person in the Unity classroom has the ability to navigate through the slideshow on their own. Once the lecture commences, the instructor can control which slide the participants in the Unity classroom are viewing.
To learn how to send the Presenter window to the participants in a Unity classroom, see Presentation Manager.
To learn how to navigate a Presenter slideshow, see Presenter.
For a text lecture, the slides are advanced and sent automatically by the Warp Type window according to commands embedded in the Warp file. For more information, see Warp Type for Instructors - Warp Commands.
For an audio lecture, the instructor must advance and send the slides to the participants' Presenter window manually. That is what is primarily covered in this document.
Content
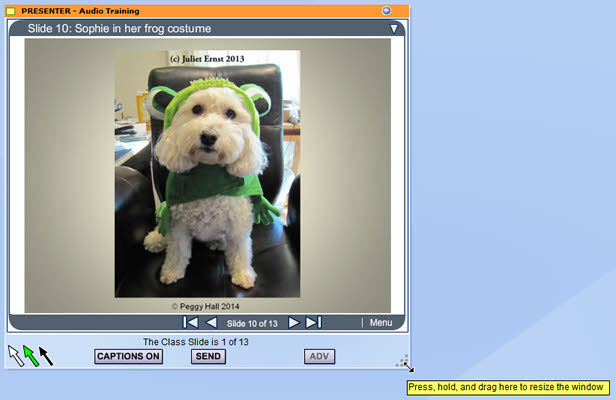
Send a Slide
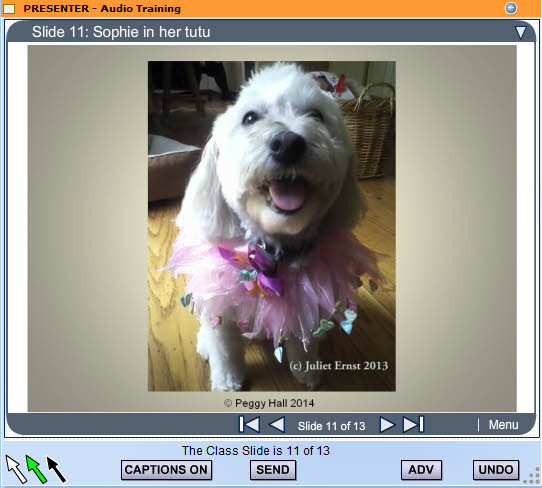
Using the SEND button on your Presenter window will cause the slide that you are currently viewing in your Presenter window to be displayed in the Presenter windows of everyone else in the Unity classroom.
 Back to top
Advance and Send a Slide
Use the ADV button on your Presenter window to advance to the next slide in your Presenter slideshow and send it to the participant's Presenter windows.
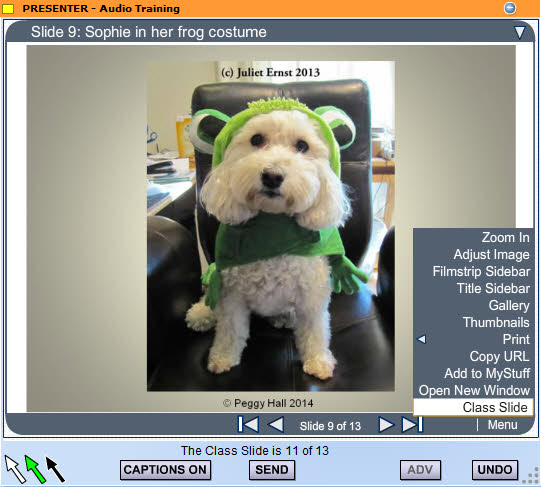
Please note that the ADV button will grey out and become inactive if you navigate away from the current class slide. To bring it back into sync, either navigate to the slide you want as the current class slide and use the SEND button or select Class Slide from the Presenter Menu.
Every time a slide is sent to the participant's Presenter windows, a link for that slide is sent to the Conference Room. So if you want to know the last slide sent to the participants, just look for the last slide link in the Conference Room.

Back to top
Playing PowerPoint Animation/iSpring Slides
PowerPoint step animation slides are turned into iSpring slides in a Presenter slideshow.
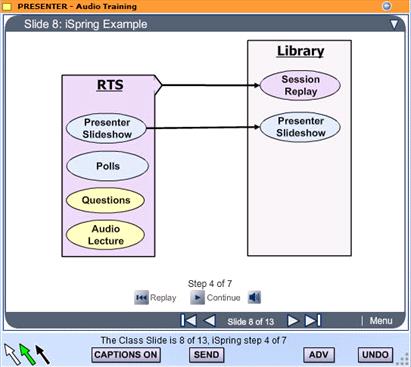
Just as the First (|<), Prev (<), Next (>), and Last (>|) controls allow you to navigate through your individual copy of the slideshow, the Replay and Continue controls let you navigate through the iSpring slide animation without affecting anyone else in the classroom.
Select the ADV button repeatedly to advance the participant's through the animation steps on an iSpring slide.
Green text is sent into the Conference Room each time you advance a step in the slide animation. So you can check the Conference Room to see which step the participants are currently viewing.

Back to top
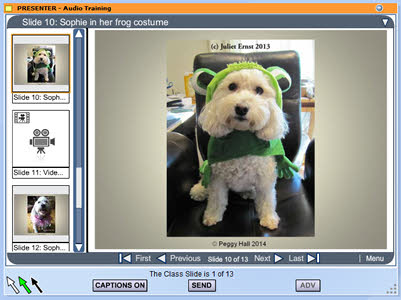
Look Ahead - Filmstrip Sidebar
- Place your cursor over the triangle of grey dots on the bottom right of the Presenter window and drag it to the right approximately one inch before you release the mouse button. This will make the Presenter window about 1" wider.
- Select Filmstrip Sidebar from the Presenter Menu.
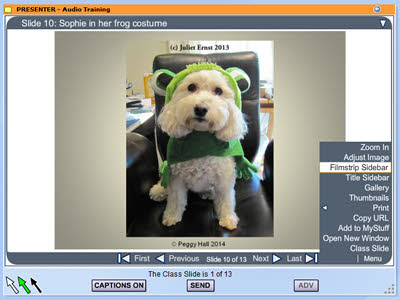
- The slides will display like a filmstrip on the left side of the Presenter window.
Use the filmstrip sidebar to "look ahead" at the slides that are coming up.
Back to top
Arrows
Presenter provides 3 arrows (a white arrow, green arrow, and black arrow) for you to point out areas of interest on a slide during the Real Time Session. They are located in the bottom left corner of the Presenter window.
To use an arrow:
- Place your cursor over the desired arrow.
- Hold down the mouse key and drag the arrow where you want it placed.
- Release the mouse key.
- Once you release the mouse key, the arrow will be visible on the participants' Presenter windows.
The arrow will automatically re-dock when the next slide is sent.
To rotate an arrow:
- Place your cursor over an arrow that is on a Presenter slide.
- Hold down the SHIFT key and mouse click on the arrow. This will cause the arrow to rotate clockwise around it's point.
To draw a line with an arrow:
- Place your cursor over an arrow that is on a Presenter slide.
- Hold down the CTRL key, hold down the mouse key and drag the arrow.
- When you release the mouse key, a line in the same color as the arrow will be drawn from the point the mouse key was clicked to the point where the mouse key was released.
- The lines will automatically disappear once the next slide is sent.
Please note that these arrows and drawn lines do not automatically get incorporated into the transcript of the Real Time Session. It requires your facilitator to take a screenshot of the Presenter window with the arrow and drawn lines showing. The screenshots are later added to the session transcript manually. Please let your course facilitator know beforehand if you plan to use the Presenter arrows during a Real Time Session.
Please do not use the same arrow repeatedly on a slide. Instead, try to use the other arrows if you have more than one area to point out as it will require fewer screenshots on the part of the course facilitator.
Back to top
Suggestions
We recommend you use the SEND button to send the first slide in your Presenter slideshow. And then use the ADV button to advance and send the rest of the slides in sequential order.
If you need to skip a slide or send slides out of sequential order, use the Filmstrip Sidebar to locate the slide you want and then use the SEND button to send the slide to the participants' Presenter windows.
If you know you want to point out areas on a slide for discussion, please add your own arrows to your PowerPoint slide before you submit it for processing. This will remove the need for screenshots.
Back to top